


As you read this,the assumption is that you have AS (Android Studio) installed.
If not head over to Part 1 of this series that had steps 1–5.
6. GRADLE SETUP
I have a custom gradle install location. C:\Gradle that contains various gradle versions. here is how to do it.
- Create a folder on C (For Windows machine users) and call it Gradle.
- Go to gradle release downloads and download the various versions. At the time of this writing I stick to having 3 gradle versions.
- Download the binary-only versions.
- Open the zipped folder and drag the folder to the gradle folder you created in this case C:\Gradle
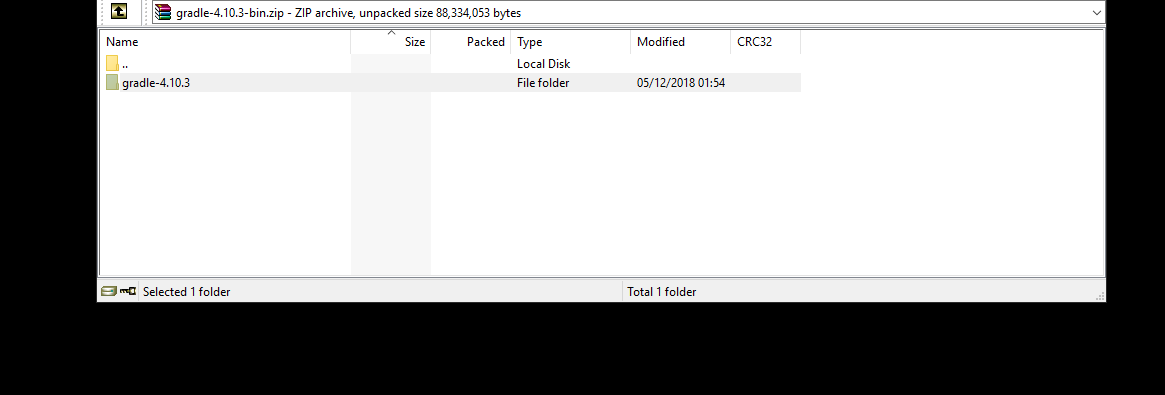 For this instance, i drag gradle-4.10.3 to C:\Gradle
5. The final folder should look something like:
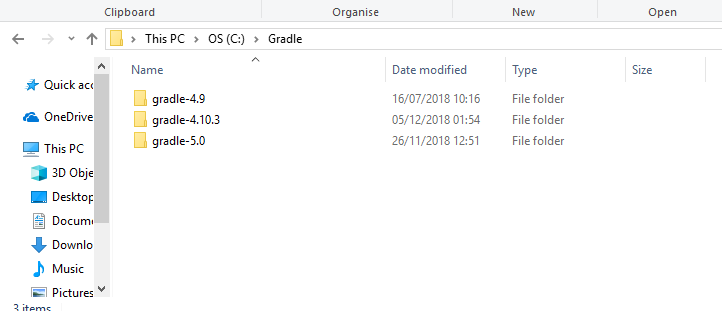 How C:\Gradle looks like at the end.
We are not done, we need to set up environment variables.
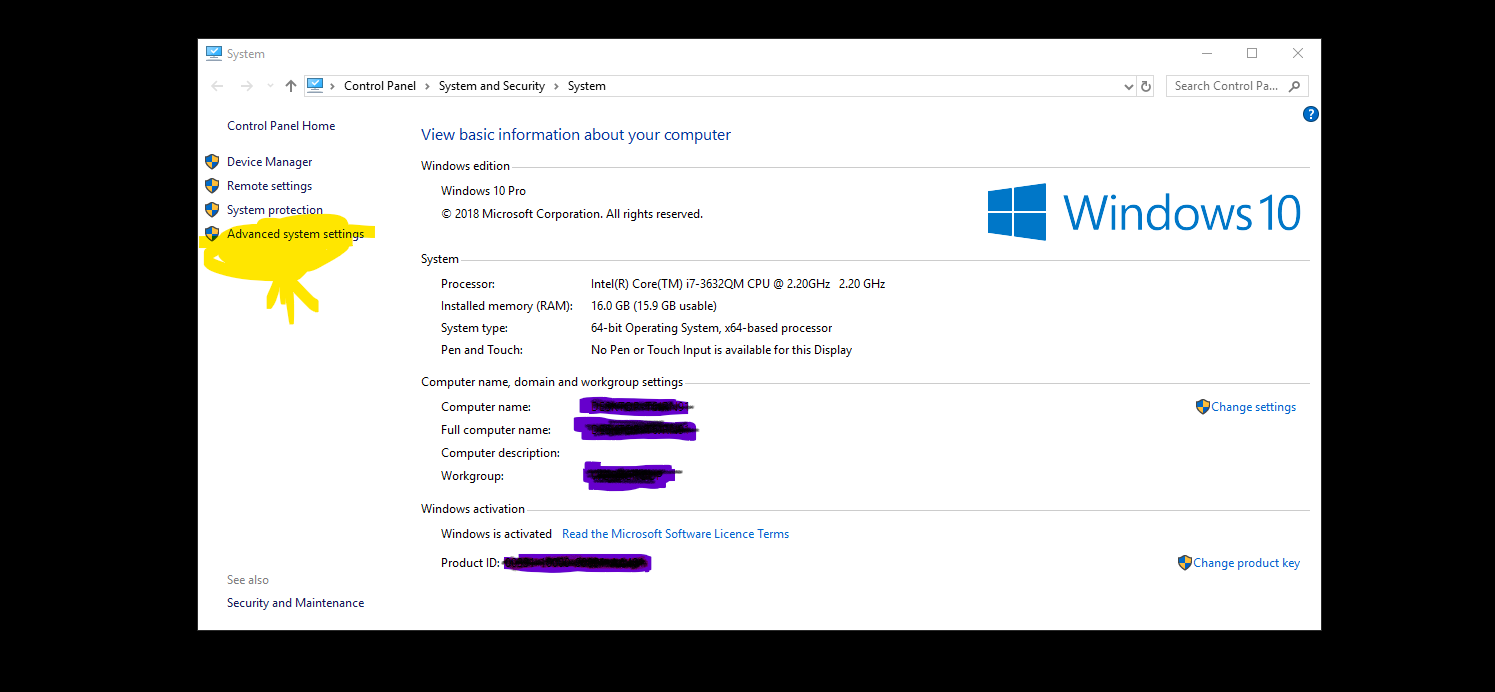
6. Open file explorer. Go to:
This PC or My Computer,
right click and select properties
>> then click on Advanced System Settings
then click on Environment Variables
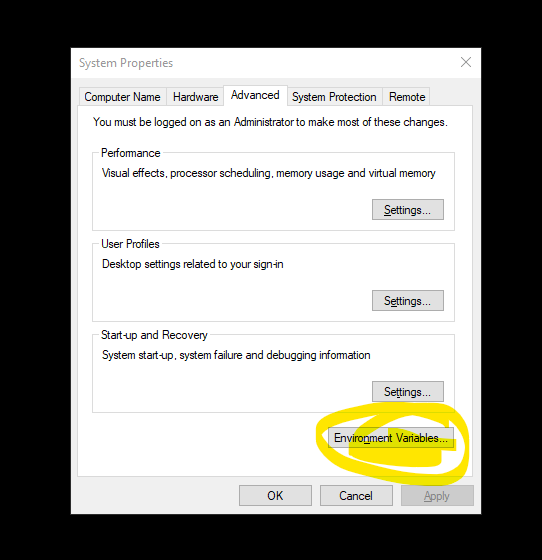
You should see this:

Go to System variables section then scroll down to Path then click Edit.
Navigate to the Gradle folder on C then to bin.
Click on the top area where you have This PC then OS ….to get the path. Then copy it.
You should get something like:
C:\Gradle\gradle-4.9\bin
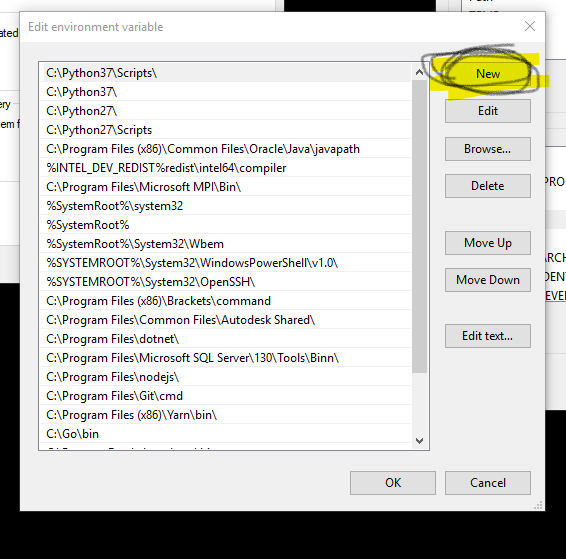
Copy this. Then head over to
Edit Environment variable window
and click NEW then paste it.
Then click OK.
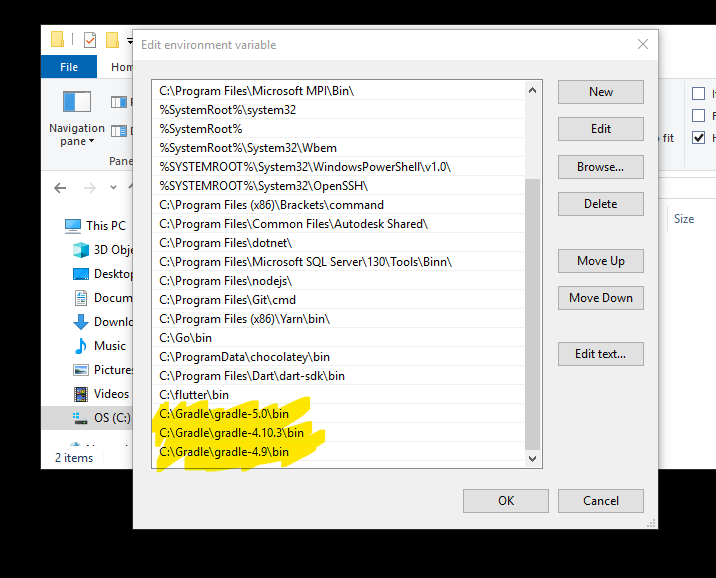
Do this for all the 3 gradle versions and you should have this:
We have to test whether it works by opening CMD, by click start and type CMD then type the command: gradle -v
then press enter.
If all went well, you should see this:
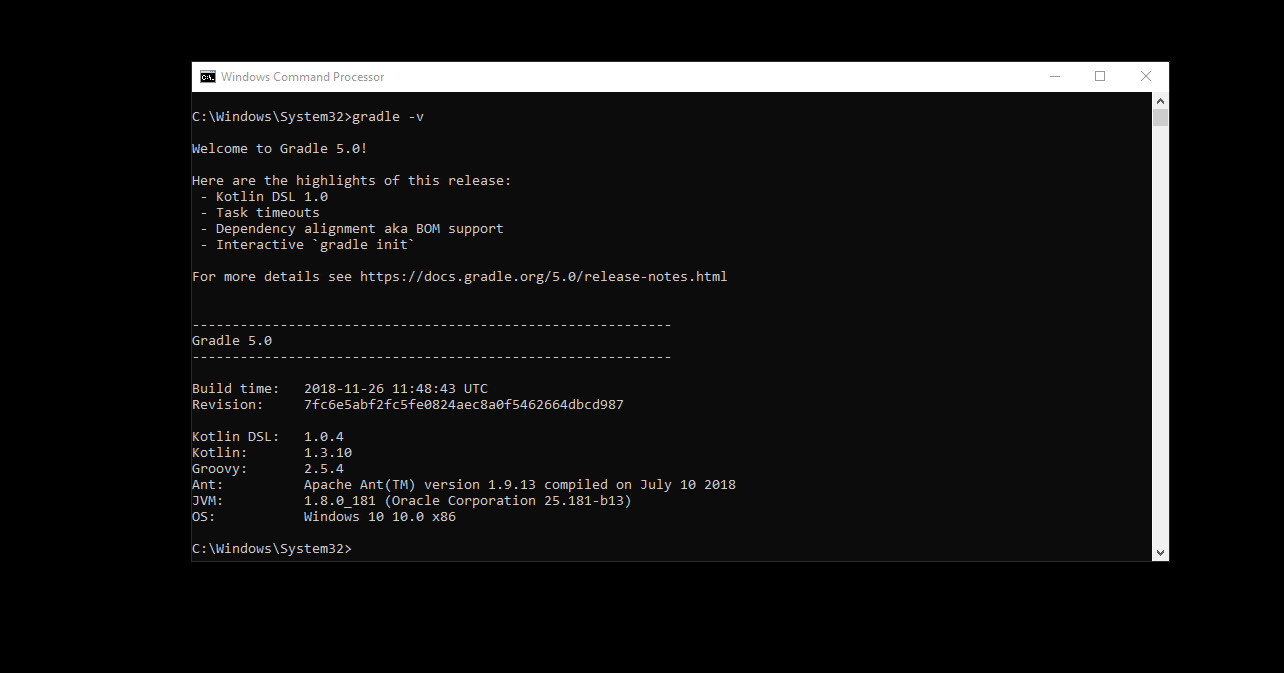
Congratulations you just set up gradle on windows!
ProTip:
Depending on the version that you put as the top in your environment variables, that is what will be picked up by the Command line as default.
Tried it a couple of times.😋
So Gradle is set up and running in the environment!
We need to now point this to Android Studio.
Next post: Gradle Offline OnLine in AS.
Previous post to catch you up: Steps 1–5